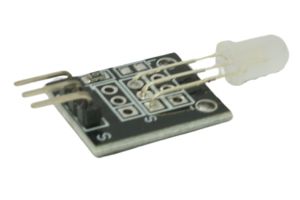
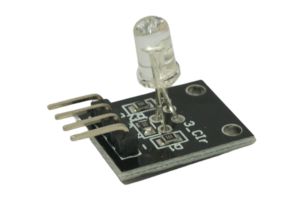
Introduction: The Two Color LED module is a compact and versatile component that features two different-colored LEDs in a single package. This module can emit two colors independently or create a third blended color by controlling both LEDs simultaneously. In this step-by-step guide, we’ll show you how to set up the Two Color LED module with an Arduino and how to control its colors programmatically.
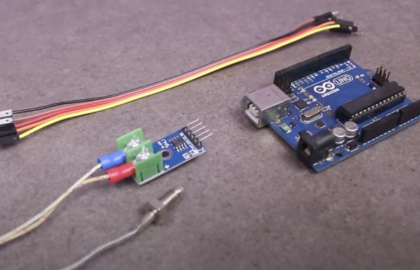
Required Components:
- Arduino board (e.g., Arduino Uno, Arduino Nano)
- Two Color LED module
- Breadboard and jumper wires
- USB cable for Arduino
- Computer with the Arduino IDE installed (https://www.arduino.cc/en/software)
Step 1: Wiring
Connect the Two Color LED module to the Arduino board as follows:
- Connect the module’s longer pin (usually the anode) to a current-limiting resistor (e.g., 220 ohms) and then to the 5V pin on the Arduino.
- Connect the module’s shorter pin (usually the cathode) to a current-limiting resistor (e.g., 220 ohms) and then to a digital pin on the Arduino (e.g., D2).
Step 2: Arduino Code
Open the Arduino IDE and create a new sketch. Then, enter the following code:
const int ledPin = 2; // Digital pin connected to the Two Color LED module

void setup() {
  pinMode(ledPin, OUTPUT); // Set the LED pin as OUTPUT
}

void loop() {
  // Call the function to change LED colors
  redColor(); // Display red color
  delay(1000); // Wait for 1 second
  greenColor(); // Display green color
  delay(1000); // Wait for 1 second
  blendColor(); // Blend the two colors (e.g., yellow)
  delay(1000); // Wait for 1 second
}

// Function to display red color
void redColor() {
  digitalWrite(ledPin, HIGH); // Turn on the red LED
}

// Function to display green color
void greenColor() {
  digitalWrite(ledPin, LOW); // Turn off the red LED
}

// Function to blend the two colors (e.g., yellow)
void blendColor() {
  analogWrite(ledPin, 128); // Turn on both LEDs at half intensity
}
Step 3: Uploading the code
Connect your Arduino board to the computer using the USB cable and select the appropriate board and port from the Arduino IDE. Then, click the “Upload” button to upload the code to the Arduino.
Step 4: Observing the LED Colors
Once the code is uploaded successfully, the Two Color LED module will display different colors in sequence. It will show red, green, and then blend the two colors (e.g., yellow) by lighting both LEDs at half intensity.
Step 5: Experiment and Play
With the Two Color LED module working as expected, you can now experiment with different color combinations and durations. Modify the code to create your own color sequences and patterns. The Two Color LED module is a great addition to any Arduino project that involves visual feedback or signaling.
Congratulations! You’ve successfully set up and controlled the Two Color LED module with Arduino. This versatile module allows you to display two distinct colors and even create blended colors by controlling both LEDs independently. Have fun experimenting and incorporating the Two Color LED module into your Arduino projects to add visually appealing elements!


