
The 7 Color Flash module is an exciting component that can produce a stunning array of colors, making it perfect for adding visual effects to your Arduino projects. In this step-by-step guide, we’ll show you how to set up the 7 Color Flash module with an Arduino and how to control its mesmerizing light display.
Required Components:
- Arduino board (e.g., Arduino Uno, Arduino Nano)
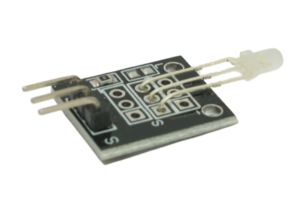
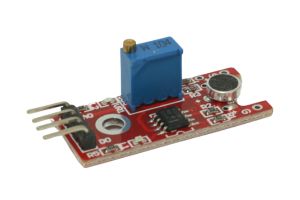
- 7 Color Flash module
- Breadboard and jumper wires
- USB cable for Arduino
- Computer with the Arduino IDE installed (https://www.arduino.cc/en/software)
Step 1: Wiring
Connect the 7 Color Flash module to the Arduino board as follows:
- Connect the module’s VCC (Voltage) pin to the 5V pin on the Arduino.
- Connect the module’s GND (Ground) pin to the GND pin on the Arduino.
- Connect the module’s DIN (Data Input) pin to any digital pin on the Arduino (e.g., D3).
Step 2: Arduino Code
To control the 7 Color Flash module, we’ll need the “Adafruit_NeoPixel” library. If you haven’t installed it yet, follow these steps:
- Open the Arduino IDE and go to “Sketch” > “Include Library” > “Manage Libraries…”
- In the Library Manager, search for “Adafruit_NeoPixel.”
- Click the “Install” button to install the library.
Next, create a new sketch and enter the following code:
#include <Adafruit_NeoPixel.h>

#define PIXEL_PIN 3    // Digital pin connected to the 7 Color Flash module's DIN pin
#define PIXEL_COUNT 7  // Number of LEDs in the module

Adafruit_NeoPixel pixels = Adafruit_NeoPixel(PIXEL_COUNT, PIXEL_PIN, NEO_GRB + NEO_KHZ800);

void setup() {
  pixels.begin();  // Initialize the NeoPixel library
  pixels.show();   // Update the LED colors (turn them off)
}

void loop() {
  // Call the function to display different colors
  showRainbow();
  delay(1000);      // Wait for 1 second
}

// Function to display a rainbow effect
void showRainbow() {
  int rainbowColors[7] = {
    pixels.Color(255, 0, 0),     // Red
    pixels.Color(255, 165, 0),   // Orange
    pixels.Color(255, 255, 0),   // Yellow
    pixels.Color(0, 128, 0),     // Green
    pixels.Color(0, 0, 255),     // Blue
    pixels.Color(75, 0, 130),    // Indigo
    pixels.Color(238, 130, 238)  // Violet
  };

  for (int i = 0; i < PIXEL_COUNT; i++) {
    pixels.setPixelColor(i, rainbowColors[i]);
  }
  pixels.show();  // Update the LED colors
}
Step 3: Uploading the code
Connect your Arduino board to the computer using the USB cable and select the appropriate board and port from the Arduino IDE. Then, click the “Upload” button to upload the code to the Arduino.
Step 4: Enjoy the Color Show!
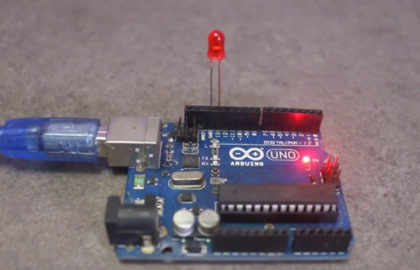
Once the code is uploaded successfully, the 7 Color Flash module will display a beautiful rainbow effect with a new color every second. The module’s LEDs will cycle through red, orange, yellow, green, blue, indigo, and violet, creating a dazzling display.
Step 5: Get Creative
Now that you have the 7 Color Flash module up and running, you can experiment with different colors and patterns. Modify the code to create custom color sequences or integrate the module into your other Arduino projects to add mesmerizing visual effects.
Congratulations! You’ve successfully set up and controlled the 7 Color Flash module with Arduino. This versatile module allows you to add eye-catching light displays to your creations, opening up a world of possibilities for creating impressive and interactive projects. Have fun experimenting and creating dazzling light shows with your 7 Color Flash module and Arduino!


