In this tutorial, we’ll guide you through the process of creating a captivating RGB LED light show using an Arduino board. Whether you’re a beginner or an experienced hobbyist, this project is a great way to explore the world of Arduino programming and add a touch of creativity to your electronics projects.
Step 1: Gather the Materials
Ensure you have the following materials:
- Arduino board
- RGB LED module
- Jumper wires
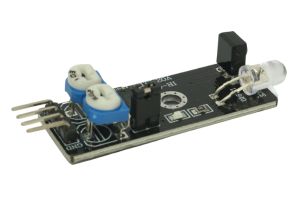
Step 2: Connect the RGB LED Module
Connect the RGB LED module to the Arduino. The module should have three pins labeled R, G, and B for the red, green, and blue channels, respectively. Connect these pins to digital pins 11, 12, and 13 on the Arduino.
Step 3: Write the Arduino Code
Open the Arduino IDE on your computer. If you don’t have it installed, download and install it from the official Arduino website.
Write the following Arduino code:
// Define RGB LED pins
const int redPin = 11;
const int greenPin = 12;
const int bluePin = 13;

void setup() {
  // Set RGB LED pins as outputs
  pinMode(redPin, OUTPUT);
  pinMode(greenPin, OUTPUT);
  pinMode(bluePin, OUTPUT);
}

void loop() {
  // Generate random values for each color channel
  int randomRed = random(256);
  int randomGreen = random(256);
  int randomBlue = random(256);

  // Set the RGB LED to the random color
  analogWrite(redPin, randomRed);
  analogWrite(greenPin, randomGreen);
  analogWrite(bluePin, randomBlue);

  // Generate a random delay between color changes (in milliseconds)
  int randomDelay = random(10, 100);
  delay(randomDelay);
}
Step 4: Upload the Code to Arduino
Connect your Arduino board to your computer and upload the code as described in the previous steps.
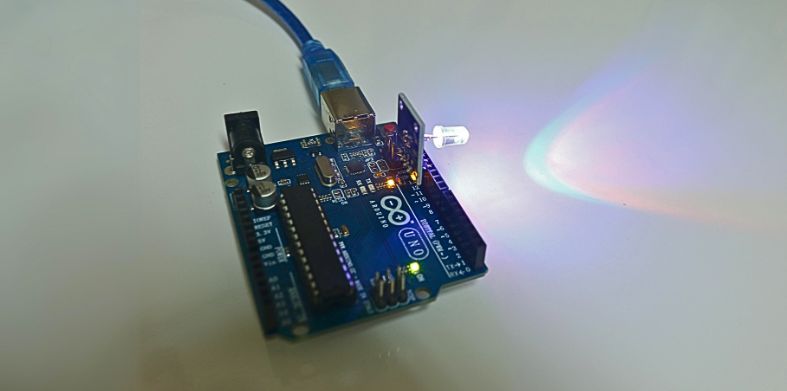
Step 5: Observe the RGB LED Module
Once the code is uploaded, the RGB LED module should start flashing with random colors. The built-in resistors on the module help ensure the correct current flows through the LED without the need for additional resistors.
Step 6: Experiment and Customize
Feel free to experiment with the code and customize it according to your preferences. You can adjust the range of random values, change the delay times, or add additional features to make the RGB LED module display more interesting patterns.
That’s it! You’ve successfully set up a random color flashing RGB LED module with an Arduino.


