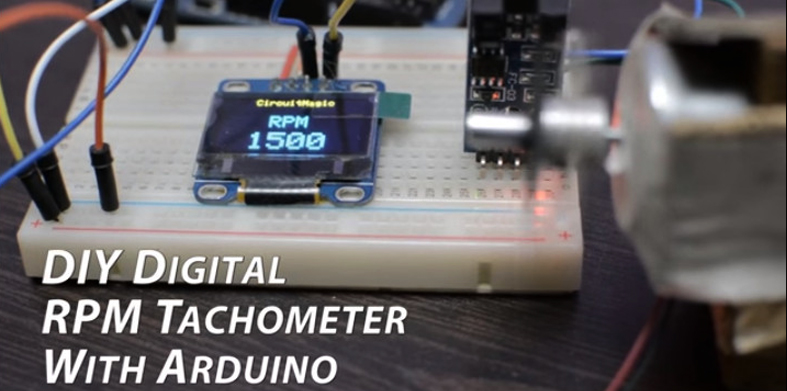
In this article, we’ll show you how to connect an Arduino board to a temperature sensor module from a 37-in-1 sensor kit. Temperature sensors are necessary for many different purposes, including home automation and weather monitoring. You can use an Arduino and a temperature sensor module to measure and show temperature data by following this simple tutorial.
Required Components:
- Arduino board (e.g., Arduino Uno, Arduino Nano)
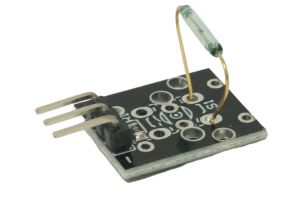
- Temperature sensor module (typically a thermistor-based sensor)
- Breadboard and jumper wires
- 10kΩ resistor (for thermistor-based sensors)
Step 1: Set Up Your Hardware
Start by assembling the hardware components. Connect your Arduino board to the breadboard using jumper wires. Ensure that the power and ground connections are properly made between the Arduino and the breadboard.
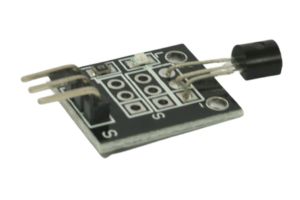
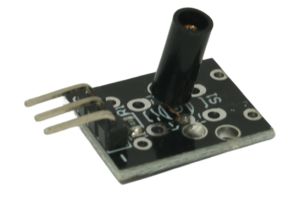
Step 2: Identify the Pins on the Temperature Sensor Module
Look for the three pins on your temperature sensor module. Usually, they are labeled VCC, GND, and OUT. If your module has additional pins or a different layout, consult the manufacturer’s datasheet or documentation.
Step 3: Connect the Temperature Sensor to Arduino
Connect the temperature sensor module to the breadboard. Make the following connections:
- Connect VCC to the 5V pin on the Arduino.
- Connect GND to the GND pin on the Arduino.
- Connect OUT to an analog input pin on the Arduino (e.g., A0).
Step 4: Add a Pull-up Resistor (for Thermistor-based Sensors)
If your temperature sensor module uses a thermistor, you’ll need to add a pull-up resistor. Connect a 10kΩ resistor between the VCC and the analog input pin where the OUT pin is connected.
Step 5: Upload the Arduino Sketch
Now it’s time to write and upload the Arduino sketch that will read the temperature from the sensor and display it on the serial monitor. You can use the following basic code as a starting point:
const int temperaturePin = A0;

void setup() {
  Serial.begin(9600);
}

void loop() {
  int sensorValue = analogRead(temperaturePin);
  float voltage = sensorValue * (5.0 / 1023.0); // Convert the analog value to voltage
  float temperatureC = (voltage - 0.5) * 100; // Convert voltage to temperature in degrees Celsius

  Serial.print("Temperature: ");
  Serial.print(temperatureC);
  Serial.println(" °C");

  delay(1000); // Wait for 1 second before the next reading
}
Step 6: Open Serial Monitor and Test
Connect your Arduino board to your computer using a USB cable and open the Arduino IDE. Go to “Tools” > “Serial Monitor” or press Ctrl + Shift + M to open the Serial Monitor. Set the baud rate to 9600 (the same as specified in the Serial.begin() function in the code).
You should now see the temperature readings being displayed in degrees Celsius on the Serial Monitor.
Congratulations!
You have successfully interfaced a temperature sensor module from a 37-in-1 sensor kit with an Arduino board. With this knowledge, you can now integrate temperature sensing into various projects and experiments. Happy making!


