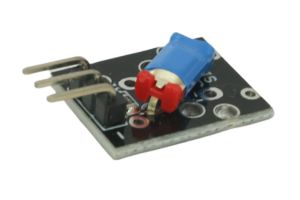
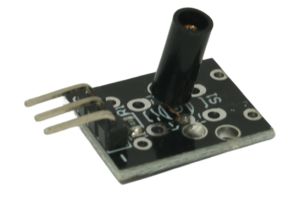
The Ball Switch module is a sensor designed to detect the tilting or rolling motion of a ball inside the module. It’s an entertaining and engaging sensor that you can use in various Arduino projects. In this step-by-step guide, we’ll show you how to set up the Ball Switch module with an Arduino and how to use it to create interactive projects.
Required Components:
- Arduino board (e.g., Arduino Uno, Arduino Nano)
- Ball Switch module
- Breadboard and jumper wires
- USB cable for Arduino
- Computer with the Arduino IDE installed (https://www.arduino.cc/en/software)
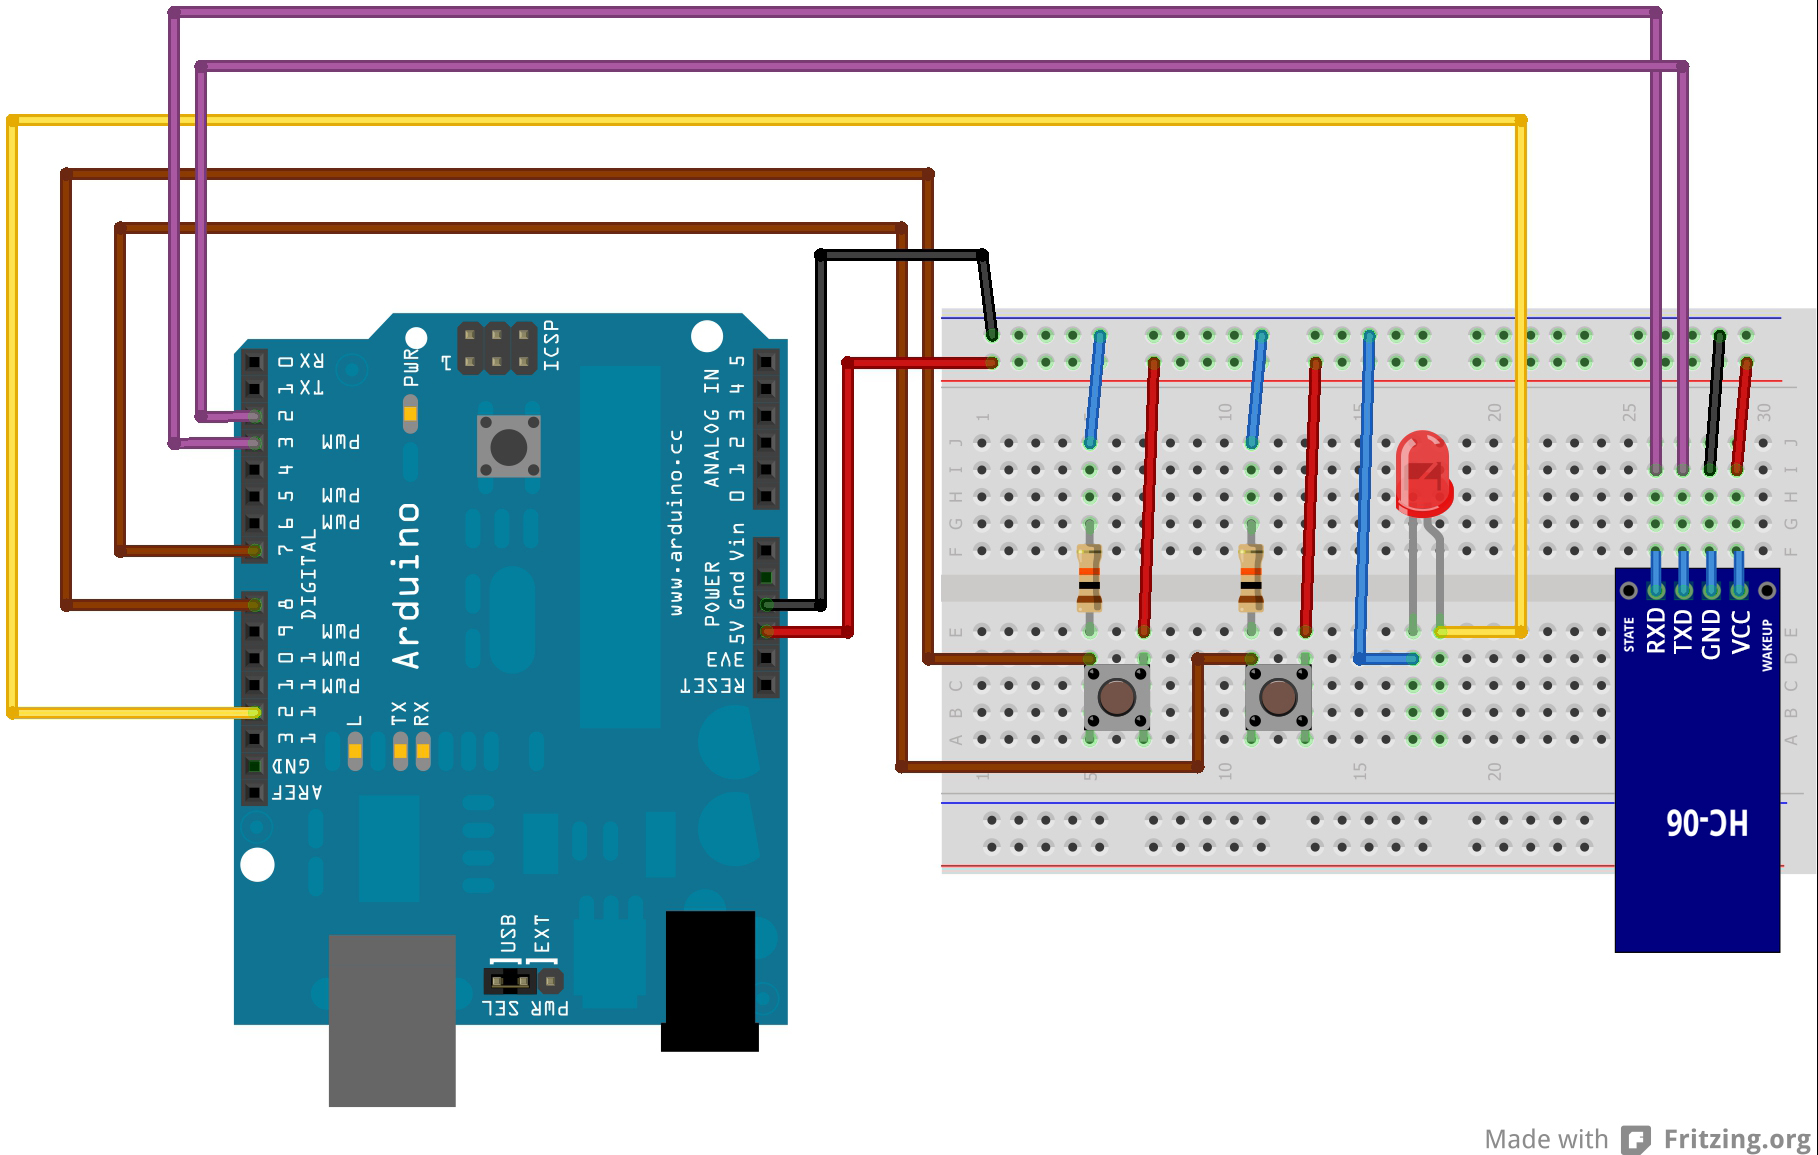
Step 1: Wiring
Connect the Ball Switch module to the Arduino board as follows:
- Connect the module’s GND (Ground) pin to the GND pin on the Arduino.
- Connect the module’s VCC (Voltage) pin to the 5V pin on the Arduino.
- Connect the module’s DO (Digital Output) pin to any digital pin on the Arduino (e.g., D2).
Step 2: Arduino Code
Open the Arduino IDE and create a new sketch. Then, enter the following code:
const int ballSwitchPin = 2; // Digital pin connected to the Ball Switch module's DO pin

void setup() {
  pinMode(ballSwitchPin, INPUT); // Set the Ball Switch pin as INPUT
  Serial.begin(9600); // Initialize serial communication for debugging (optional)
}

void loop() {
  int ballState = digitalRead(ballSwitchPin); // Read the state of the Ball Switch

  if (ballState == HIGH) {
    Serial.println("Ball is rolling!"); // Display a message when the ball is rolling
    // Your custom actions or functions can be added here.
  } else {
    // You can include additional actions here when the ball is not rolling.
  }

  // Add optional delay to prevent rapid switching of states (e.g., debounce)
  // delay(100);
}
Step 3: Uploading the code
Connect your Arduino board to the computer using the USB cable and select the appropriate board and port from the Arduino IDE. Then, click the “Upload” button to upload the code to the Arduino.
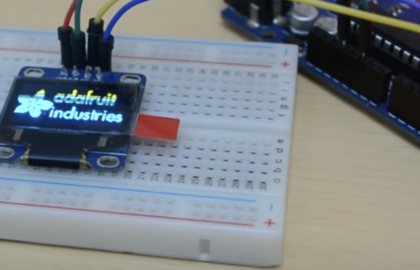
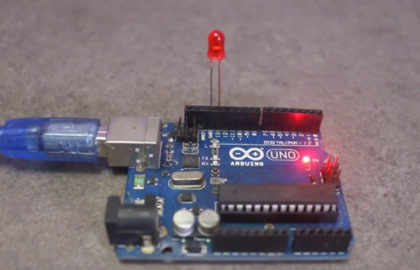
Step 4: Observing the Output
Once the code is uploaded successfully, open the Serial Monitor from the Arduino IDE (Ctrl + Shift + M) to observe the output. The Serial Monitor will display “Ball is rolling!” when the ball inside the Ball Switch module is tilted or rolling. If the ball is in a resting position, it will not display anything.
Step 5: Experiment and Create
With the Ball Switch module successfully integrated with Arduino, you can now create various interactive projects. For example, you can build a game where players roll the ball to trigger actions on an LCD display, control LED lights, or trigger sound effects. The possibilities are endless, so let your creativity run wild!
Congratulations! You’ve learned how to set up and use a Ball Switch module with Arduino. The Ball Switch opens up exciting possibilities for interactive projects, bringing a whole new level of fun and engagement to your Arduino creations. Happy tinkering!


