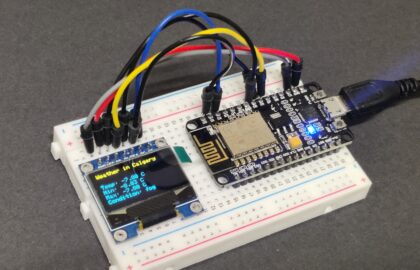
Welcome to NodeMCU Motor Control Project. This is step by step guide to show you how to control DC motor using a NodeMCU and NodeMCU Motor Driver Shield. This project is perfect for robotics enthusiasts and hobbyists who want to add motorized functionality to their creations.
In this project, we will explore how to control two DC motors with NodeMCU and Motor Driver shield. You will learn the essentials of wiring, programming and motor control. Whether you are a beginner or an expert make, this guide is designed to help you build your own motorized project.
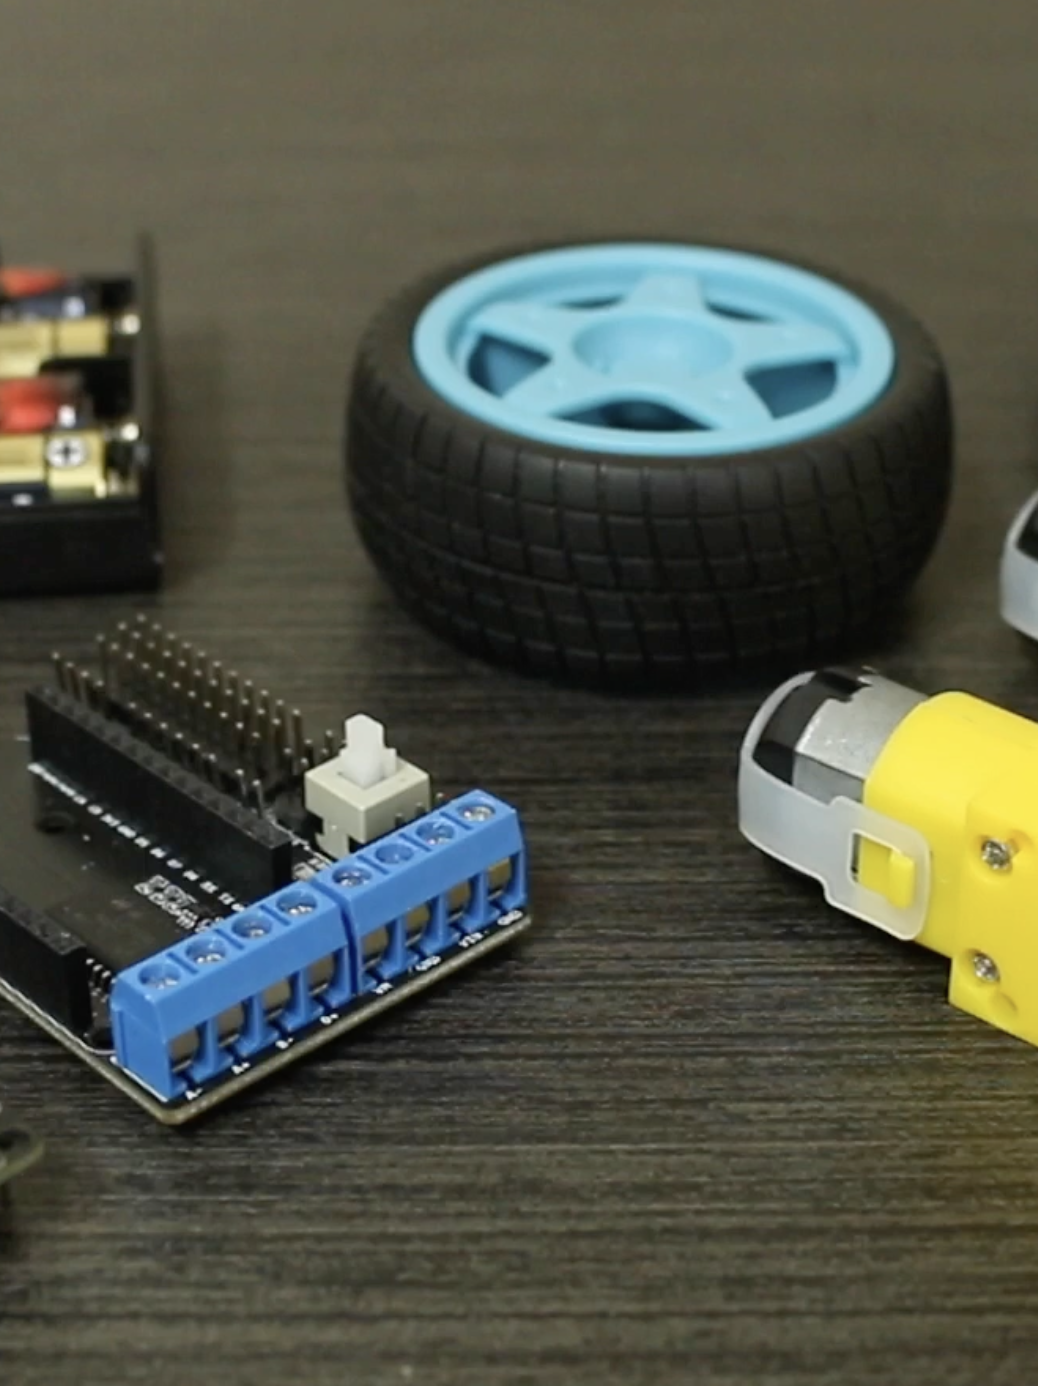
Required Components and Modules:
- NodeMCU ESP8266 (CP2102)
- ESP8266 Motor Shield
- Two DC gear motors
- 6-volt battery pack
- Jumper wires
- Arduino IDE(Installed on your computer)
Step-by-Step Guide:
- Attache NodeMCU to Motor Driver Shield
- Connect the motors with connectors (A- A+ and B- B+)
- Now connect battery pack with VIN and GND connectors
- Add the jumper to VIN and VM Pins (to short it)
- Upload the Code to NodeMCU
- Test Motor Control (Forward, Backward, Turns)
Video Demonstration – DC Motor with NodeMCU and Driver Shield
Code to run dc motor with NodeMCU driver shield
int PWMA = 5;  // Right side motor speed control (PWM)
int PWMB = 4;  // Left side motor speed control (PWM)
int DA = 0;    // Right side motor direction
int DB = 2;    // Left side motor direction

void setup() {
  Serial.begin(9600);

  pinMode(PWMA, OUTPUT);
  pinMode(PWMB, OUTPUT);
  pinMode(DA, OUTPUT);
  pinMode(DB, OUTPUT);

  // Initialize motors to stop
  digitalWrite(PWMA, LOW);
  digitalWrite(PWMB, LOW);
  digitalWrite(DA, LOW);
  digitalWrite(DB, LOW);

  Serial.println("Motors initialized.");
}

void loop() {
  forward();
  delay(2000);
  stopMotors();
  delay(2000);
  backward();
  delay(2000);
  stopMotors();
  delay(2000);
  slowForward();
  delay(2000);
  stopMotors();
  delay(2000);
  round();
  delay(2000);
  stopMotors();
  delay(2000);
}

void forward() {
  Serial.println("Moving forward...");
  digitalWrite(DA, LOW); // Right motor forward
  digitalWrite(DB, LOW); // Left motor forward
  analogWrite(PWMA, 255); // Adjust the value (0-255) for speed control
  analogWrite(PWMB, 255); // Adjust the value (0-255) for speed control
}

void slowForward() {
  Serial.println("Moving slow forward...");
  digitalWrite(DA, LOW); // Right motor forward
  digitalWrite(DB, LOW); // Left motor forward
  analogWrite(PWMA, 150); // Adjust the value (0-255) for speed control
  analogWrite(PWMB, 150); // Adjust the value (0-255) for speed control
}

void stopMotors() {
  Serial.println("Stopping motors...");
  digitalWrite(DA, LOW);  // Right motor stop
  digitalWrite(DB, LOW);  // Left motor stop
  digitalWrite(PWMA, LOW); // Right motor speed off
  digitalWrite(PWMB, LOW); // Left motor speed off
}

void backward() {
  Serial.println("Moving backward...");
  digitalWrite(DA, HIGH); // Right motor backward
  digitalWrite(DB, HIGH); // Left motor backward
  analogWrite(PWMA, 255); // Adjust the value (0-255) for speed control
  analogWrite(PWMB, 255); // Adjust the value (0-255) for speed control
}

void round() {
  Serial.println("Moving backward...");
  digitalWrite(DA, HIGH); // Right motor backward
  digitalWrite(DB, LOW); // Left motor forward
  analogWrite(PWMA, 255); // Adjust the value (0-255) for speed control
  analogWrite(PWMB, 255); // Adjust the value (0-255) for speed control
}
Hope you enjoyed this project. If you have any questions or need further assistance, please don’t hesitate to comment below. Your feedback and questions are always welcome.


