
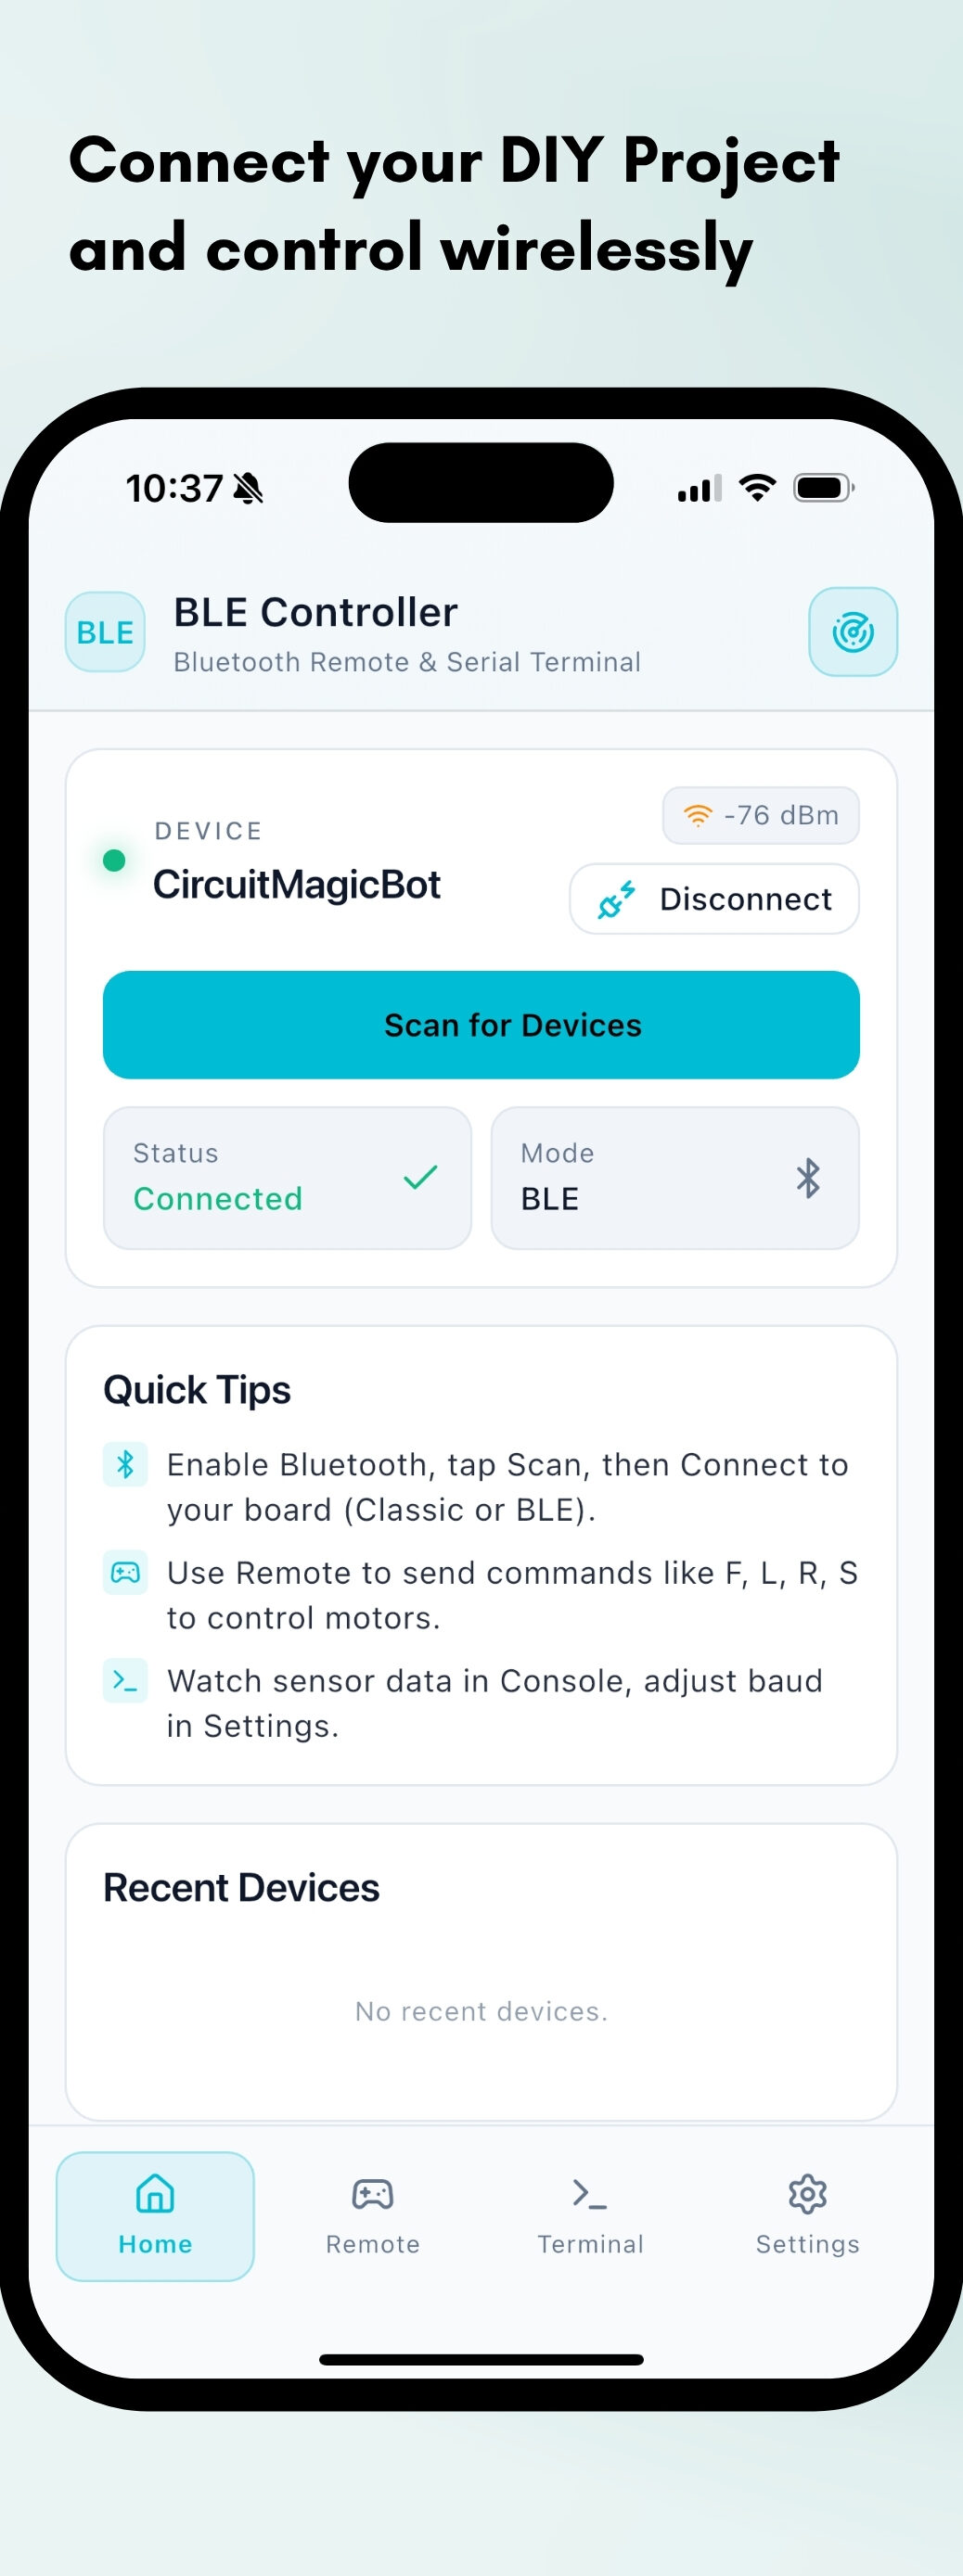
If you enjoy building DIY gadgets, robotics projects, or Bluetooth-based control systems, then having a reliable and easy-to-use controller app is essential. The BLE Controller App makes it simple to communicate wirelessly with microcontrollers such as Arduino, ESP32, ESP8266, NodeMCU, and Raspberry Pi, using Bluetooth Low Energy (BLE) technology.
Whether you’re controlling a robot car, sending serial commands, switching GPIO pins, or testing sensors, this app provides a clean and powerful interface that works right out of the box.
In this guide, we’ll explore what the BLE Controller App is, how it works, key features, supported hardware, and beginner-friendly examples to help you get started.
What is BLE Controller App?
The BLE Controller App is a mobile application that allows your smartphone to communicate with BLE-enabled microcontroller boards. BLE (Bluetooth Low Energy) is a modern and energy-efficient version of Bluetooth that makes wireless data transfer stable and battery-friendly.
Download the BLE Controller App:
With the BLE Controller App, you can:
- Connect your phone to a BLE-enabled device
- Send and receive data in real-time
- Control hardware like motors, LEDs, relays, servos, etc.
- Monitor sensor readings instantly
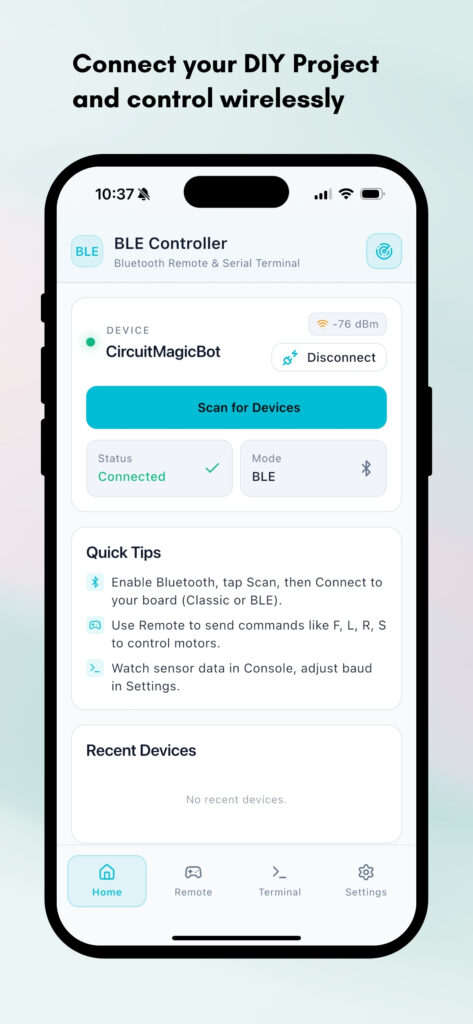
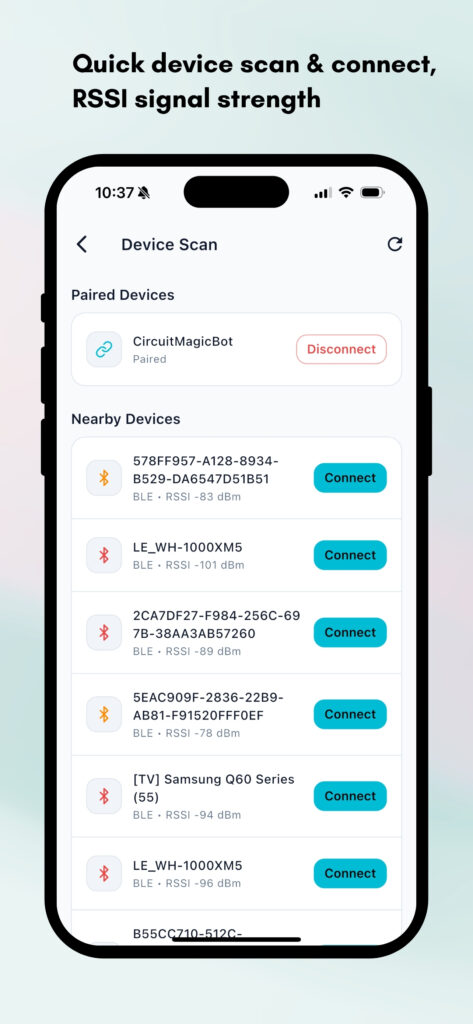
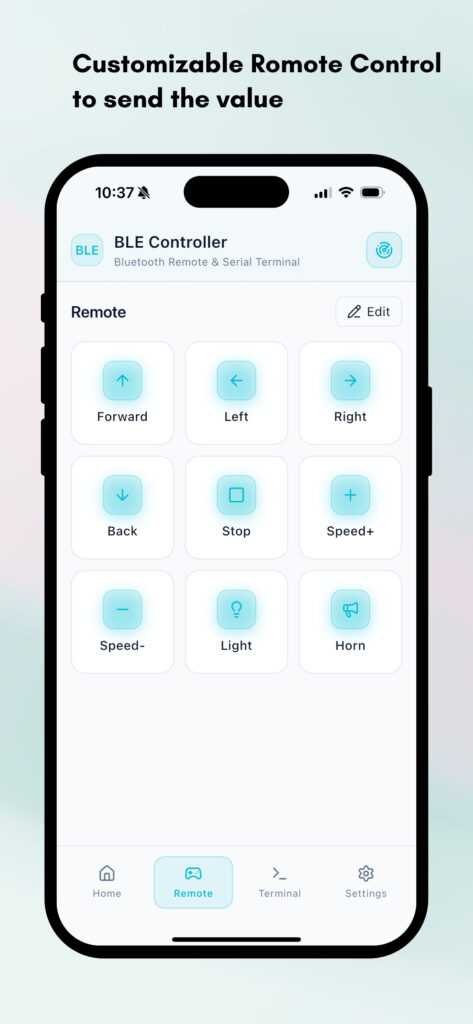
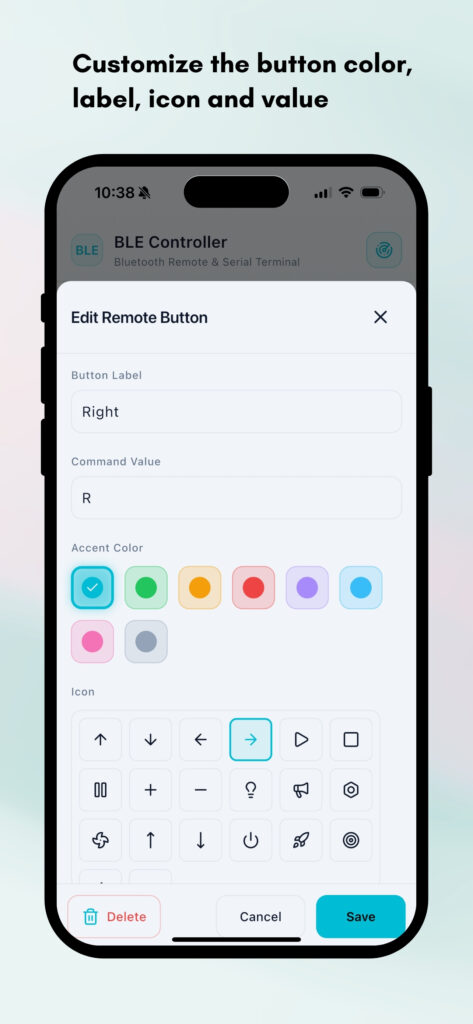
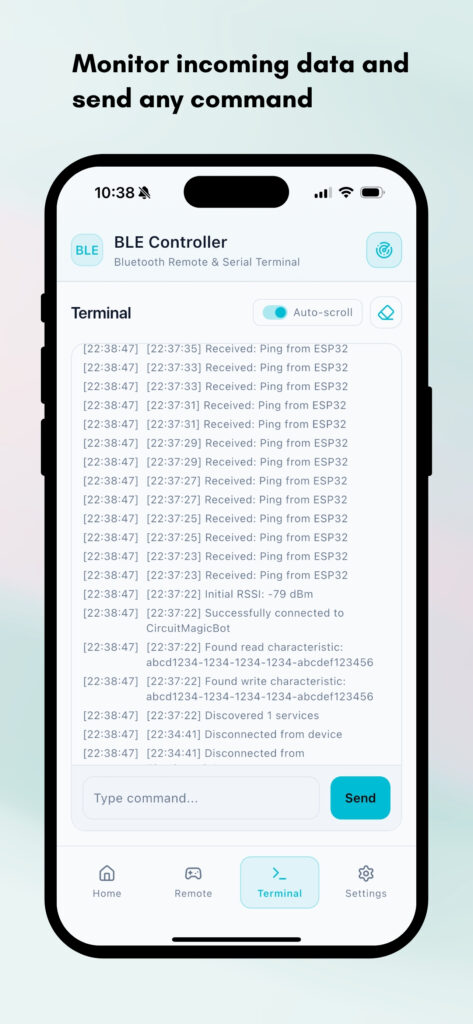
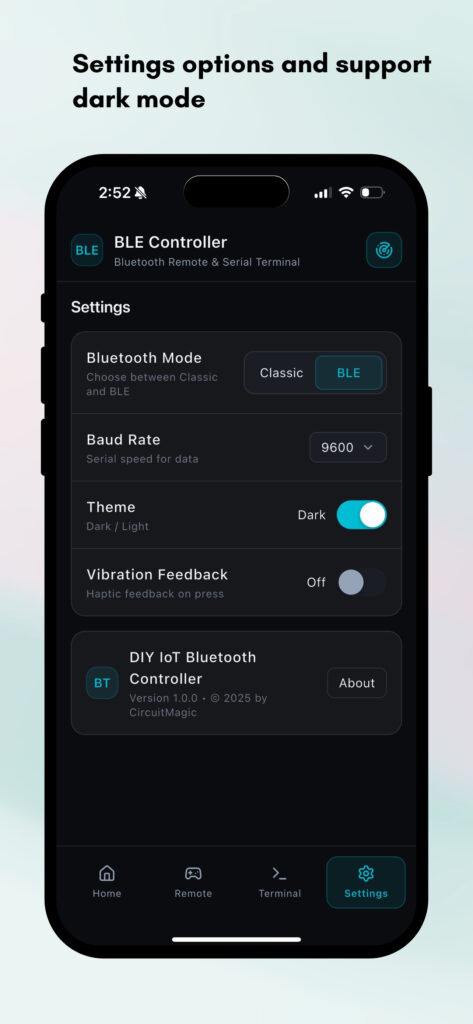
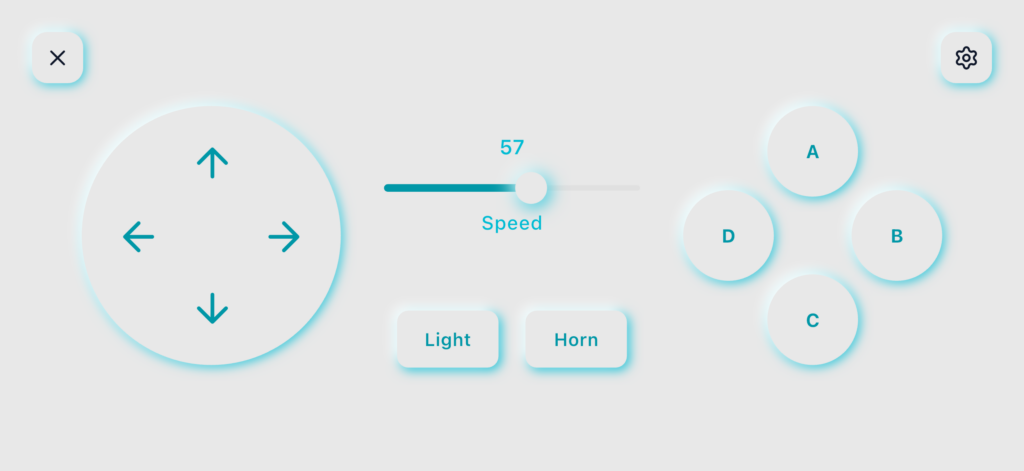
No additional hardware shields are required — just a BLE supported board (like ESP32) and your smartphone.
Why Use BLE Controller Instead of Classic Bluetooth?
| Feature | Classic Bluetooth | BLE (Bluetooth Low Energy) |
|---|---|---|
| Power Consumption | High | Very Low |
| Range | Medium | Medium to High |
| Speed | Moderate | Moderate |
| Best For | Audio Devices | IoT, Robotics, Wearables |
Most new smartphones and microcontroller boards support BLE, offering better performance and lower battery usage — which is ideal for smart robots, smart home devices, and wearable gadgets.
Key Features of BLE Controller App
✅ Real-time Serial Monitor – View incoming data instantly
✅ Custom Button Controls – Assign commands to on-screen buttons
✅ Joystick Mode – Great for robot cars and drones
✅ Slider Control – Perfect for controlling servo angles, brightness, or speed
✅ Multi-Device Support – Save and switch devices easily
✅ Simple to Use – No complex configuration necessary
Supported Hardware Boards
The BLE Controller App works with any board that supports BLE UART/GATT communication, including:
- ESP32 with built-in BLE (Recommended; choose a BLE-capable model)
- Arduino Nano 33 BLE Sense
- Arduino Nano + HM-10 BLE Module
- ESP8266 with an external BLE bridge module (ESP8266 does not include built-in BLE)
- Raspberry Pi with BLE enabled
Best Option for Beginners: ESP32 because BLE functionality is built-in.
How to Use BLE Controller App (Quick Start)
Step 1: Upload Firmware to ESP32
For this tutorial, use an ESP32 board with built-in BLE support and a compatible Arduino-ESP32 board package (this example targets the 3.x BLE APIs). The firmware implements the Nordic UART Service (NUS) instead of Classic Bluetooth SPP.
#include <Arduino.h>
#include <BLEDevice.h>
#include <BLEServer.h>
#include <BLEUtils.h>
#include <BLE2902.h>

// Nordic UART Service (NUS)
#define SERVICE_UUID "6E400001-B5A3-F393-E0A9-E50E24DCCA9E"
#define RX_UUID "6E400002-B5A3-F393-E0A9-E50E24DCCA9E"
#define TX_UUID "6E400003-B5A3-F393-E0A9-E50E24DCCA9E"

BLEServer* server = nullptr;
BLECharacteristic* tx = nullptr;
bool connected = false;
bool previouslyConnected = false;

class ServerCallbacks : public BLEServerCallbacks {
  void onConnect(BLEServer* s) override {
    connected = true;
    Serial.println("BLE connected");
  }
  void onDisconnect(BLEServer* s) override {
    connected = false;
    Serial.println("BLE disconnected");
  }
};

class ReceiveCallbacks : public BLECharacteristicCallbacks {
  void onWrite(BLECharacteristic* characteristic) override {
    String value = characteristic->getValue();
    for (size_t i = 0; i < value.length(); i++) {
      char command = value[i];
      Serial.print("Received: ");
      Serial.println(command);
      switch (command) {
        case 'F': Serial.println("Forward"); break;
        case 'B': Serial.println("Backward"); break;
        case 'L': Serial.println("Left"); break;
        case 'R': Serial.println("Right"); break;
        case 'S': Serial.println("Stop"); break;
        default: break;
      }
    }
  }
};

void setup() {
  Serial.begin(115200);
  BLEDevice::init("ESP32-Robot");
  server = BLEDevice::createServer();
  server->setCallbacks(new ServerCallbacks());
  BLEService* service = server->createService(SERVICE_UUID);
  tx = service->createCharacteristic(
    TX_UUID, BLECharacteristic::PROPERTY_NOTIFY
  );
  tx->addDescriptor(new BLE2902());
  BLECharacteristic* rx = service->createCharacteristic(
    RX_UUID,
    BLECharacteristic::PROPERTY_WRITE |
    BLECharacteristic::PROPERTY_WRITE_NR
  );
  rx->setCallbacks(new ReceiveCallbacks());
  service->start();
  BLEAdvertising* advertising = server->getAdvertising();
  advertising->addServiceUUID(SERVICE_UUID);
  advertising->start();
  Serial.println("ESP32-Robot BLE advertising");
}

void loop() {
  if (!connected && previouslyConnected) {
    delay(500);
    server->startAdvertising();
    previouslyConnected = false;
  }
  if (connected && !previouslyConnected) {
    previouslyConnected = true;
  }
  delay(20);
}
In the Arduino IDE, select your ESP32 board and serial port, upload the code, then open Serial Monitor at 115200 baud. Look for ESP32-Robot BLE advertising. The previous BluetoothSerial.h example used Classic Bluetooth and could not appear in a BLE scan.
Step 2: Open BLE Controller App
- Turn on Bluetooth and grant the app’s required Bluetooth permissions.
- Open BLE Controller on Android or iOS and start a BLE device scan.
- Select ESP32-Robot and connect.
- If the device doesn’t appear, check that your board supports BLE, the firmware is advertising, and another app is not already connected.
Step 3: Send Commands
- Use buttons/joystick/terminal to send letters like:
F→ Move ForwardB→ Move BackL→ Turn LeftR→ Turn RightS→ Stop
Open the Arduino Serial Monitor at 115200 baud to see received commands. This example demonstrates BLE communication only: to move a physical robot, connect a suitable motor driver and add GPIO/motor-control logic for these commands.
Why This App is Great for STEM Education
The BLE Controller App is perfect for:
- School and college projects
- STEM learning kits
- Robotics workshops
- Makers and hobbyists
Students learn:
- Electronics fundamentals
- Bluetooth wireless communication
- Basic programming logic
- Real-world problem solving
The BLE Controller App makes Bluetooth-based control simple, efficient, and enjoyable. Whether you are a beginner learning microcontrollers or an advanced hobbyist building smart devices, this app gives you the flexibility and control you need.
Start experimenting today — build, control, and transform your creative ideas into working real-world projects!



Hello, I read through the steps and tried to upload this code to my ESP32. It uploads fine, but does not show up in BLE devices on the app.
Hi Nick,
Thanks for reporting this! We’ve updated the article with the correct ESP32 BLE code using Nordic UART Service (NUS). The previous example used Classic Bluetooth, which doesn’t appear in BLE scans.
Please upload the updated code and try these debugging steps:
1. Open Arduino Serial Monitor at 115200 baud.
2. Confirm you see “ESP32-Robot BLE advertising”.
3. Enable Bluetooth permissions and scan again in the BLE Controller app.
4. If the device is still missing, restart your ESP32 and try scanning with the nRF Connect app.
If it still doesn’t work, please share your ESP32 board model, Android/iOS version, and Serial Monitor output.
Thanks,
CircuitMagic Team