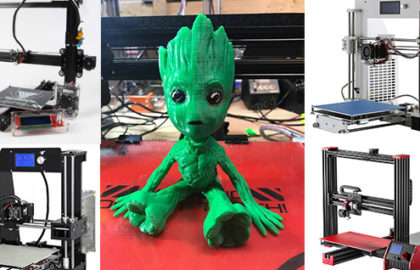
When it comes to controlling the movements and extrusion process of your 3D printer, the firmware you choose plays a critical role. Marlin is one of the most popular open-source firmware options available and can be customized to fit your printer’s specific needs. In this article, we will discuss how to download the Marlin firmware from Github and upload it to your Arduino board.
Step 1: Download the Marlin Firmware from Github
The first step in uploading Marlin firmware to your Arduino board is to download the firmware from the Marlin Github page. You can access the page by going to https://github.com/MarlinFirmware/Marlin.
Once on the Marlin Github page, you will find the firmware files under the “Releases” tab. Choose the latest stable release version by clicking on the download link for the .zip file. This will download a compressed folder to your computer containing the firmware files.
Step 2: Install the Arduino Software
Before you can upload the Marlin firmware to your Arduino board, you need to install the Arduino software. You can download the software from the Arduino website for free. Once you have downloaded the software, follow the installation instructions to install it on your computer.
Step 3: Connect the Arduino Board to Your Computer
Connect the Arduino board to your computer using a USB cable. Make sure that the board is properly connected and recognized by your computer.
Step 4: Open the Marlin Firmware in Arduino
Open the Marlin firmware folder you downloaded earlier and locate the “Marlin.ino” file. Double-click on the file to open it in the Arduino software.
Step 5: Select the Board Type and Port
In the Arduino software, navigate to the “Tools” menu and select “Board.” Choose the appropriate board type for your 3D printer. For example, if you are using an Arduino Mega 2560, select “Arduino/Genuino Mega or Mega 2560.”
Next, navigate to the “Tools” menu again and select “Port.” Choose the port that corresponds to your Arduino board. This should be listed as a serial port in the format of “COM#” on Windows or “/dev/tty.usbmodem#” on Mac.
Step 6: Upload the Firmware
To upload the Marlin firmware to your Arduino board, click on the “Upload” button located in the top left corner of the Arduino software window. Wait for the upload process to finish, which may take a few minutes depending on your computer and board.
Step 7: 3d-Printer is ready to test with Marlin Firmware
Once the upload is complete, you will see a message in the bottom left corner of the window saying “Done uploading.” Your 3D printer is now ready to use with the Marlin firmware installed.
Uploading Marlin firmware to your Arduino board can be a simple process with a little knowledge and practice. By following the steps outlined in this article, you can download the firmware from the Marlin Github page and upload it to your Arduino board. Remember to select the appropriate board type and port before uploading the firmware. With the Marlin firmware installed, you can customize your 3D printer’s settings and create high-quality prints.