What is Arduino
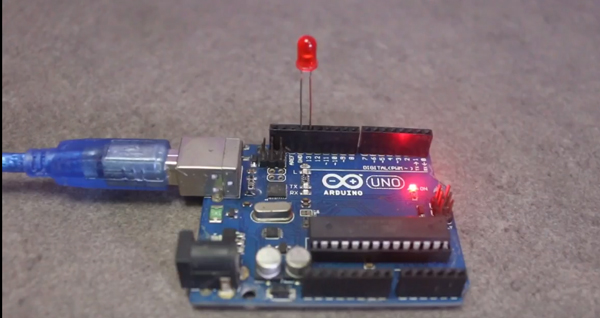
Arduino is a popular open source circuit board with a microcontroller to develop electronic projects. It’s IDE provides you the facility to write and upload program to the physical board. In this way you can use arduino to make projects like to control motors, LEDs, cameras, use different sensors or even build a simple robot.
How to program Arduino
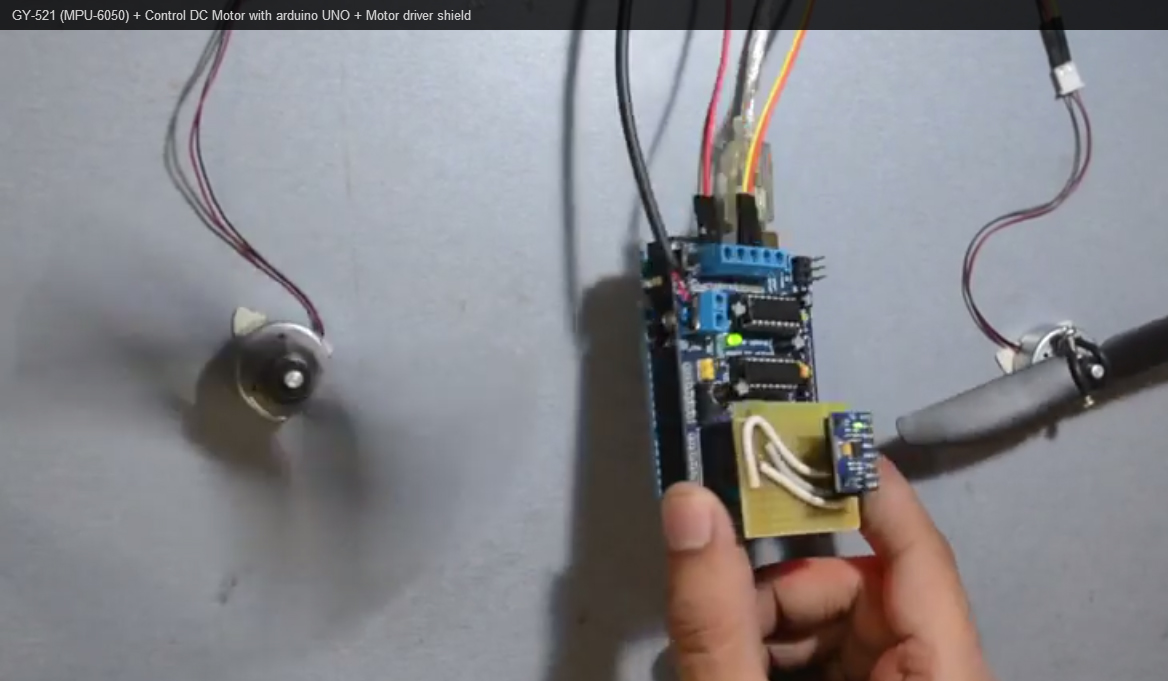
To program or upload code in Arduino is very easy, even if you don’t have any programming knowledge. Arduino library provides basic code from blinking LED to advance robotics control or you can also find the useful code to control DC motors, stepper motor and different types of sensors, over the internet and on circuitmagic.com.
You can program an Arduino in just six easy steps.
- Download and install the Arduino IDE
Please visit to arduino.cc to download the Arduino software and install it. - Connect Arduino board to computer
Connect Arduino to your PC using USB cable. - Select port from the Tools menu
Now open the software and select the port from Tools > port > select your com port - Now select Arduino board from the Tools menu
Again goto the Tools menu and select board from the list. Tools > Board > Arduino Uno (if you are using Arduino Uno). - Write or paste your code
Now you can write or paste your code. You can also use the code from Arduino library, to open example code goto File > Examples > and select whatever code you want to upload. - Press the button to upload code
Now everything is ready, you just need to click upload button or goto Sketch > and click on Upload.


